Friday, December 7, 2012

the first light of advent

Advent Advent a candle glows
First one then two then three then four
Then stands the Child of Light at my door

 The first Light of Advent
Is the Light of Stones
Stones that live in crystals
In seashells and in bones


Each morning Naiya finds a special treasure in her Advent bags and places them on our wreath.  We lit one candle this week and sang our Advent song as she marveled at all the beautiful colors and textures of crystals, shells, geodes and fossils.

Thursday, December 6, 2012

leach botanical garden

We feel really lucky to be living in Portland.  I'm a transplant here and have enjoyed this city for just over a decade while Ryan has been in or around the area for most of his life.  Amazingly, we keep discovering little gems tucked away in every corner.  The metro area doesn't seem that large but somehow, I still think it's got a lot of secrets to share.  Just this weekend we discovered (only 12 minutes from our house!) Leach Botanical Garden while we were out searching for a letterbox.  This beautiful, 17 acre estate was donated to the city of Portland by John and Lilla Leach.  The Leachs - pioneers, explorers, botanists, artists and scientists extraordinaire - left over 2,000 species of plants here.  Even in late autumn, the gardens are a sight to see and a fun place to explore.


Sunday, December 2, 2012

winter crafting festival


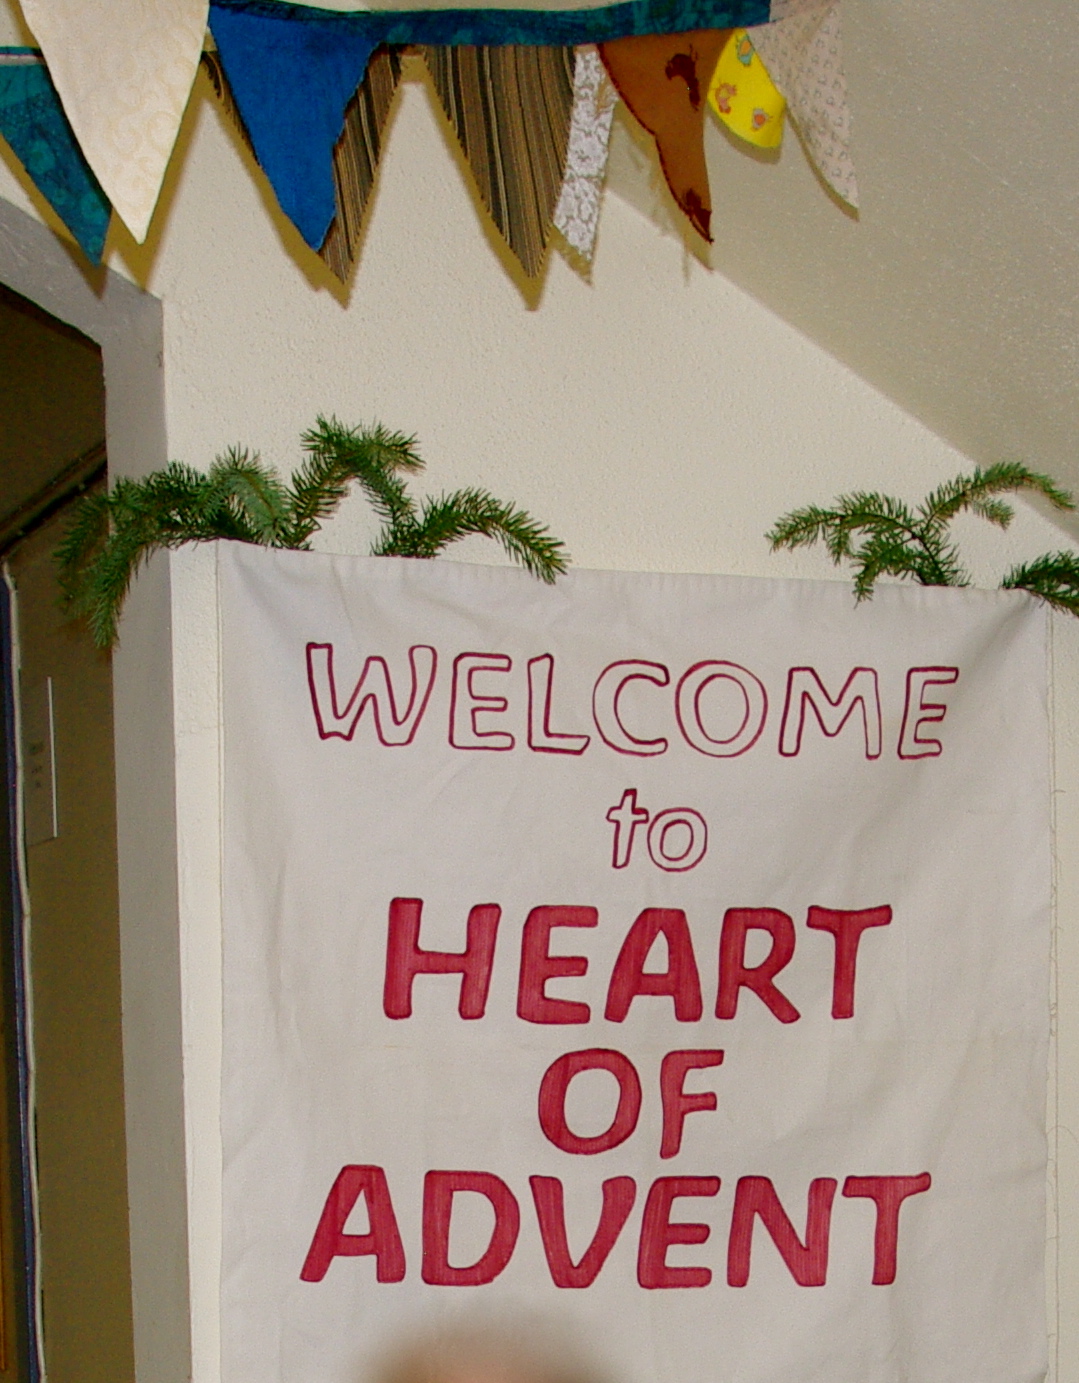
Every year, sometime near the Advent season, the parents at our Waldorf school hold a little gathering for the adults in our community to enjoy a cozy and festive day together sharing our crafting skills.  We call it Heart of Advent. 

For the past few years, I've helped organize this event and this year, although attendance was not high, those who came to share their holiday stories and traditions and chat over tea with needles, scissors, paper and wool seemed to have a wonderful afternoon.

We ended up with a really delightful collection of natural crafts made of a variety of materials.


Transparency stars are always a favorite.  There are at least a few books that provide instructions for these and, I'm sure, a number of online guides as well.   They're great for all seasons but especially nice for brightening up the dark days of winter I think.

Transparency silhouettes were a new hit.  I hosted this table and provided a few samples and patterns but some very enterprising folks came up with really lovely images of their own as well.  These can be displayed in front of a bright window or propped up before a covered candle.  The difficulty is in the fiddly cutting but, if one has the patience, they're worth the time and can provide lovely visual accompaniment for seasonal stories and themes.  I'll try to post a tutorial within the next couple of days.

Of course we had to have some kind of candle craft.  Not only did the beeswax offer olfactory bliss but the theme of bringing light into darkness is so prevalent in stories at this time of year that it just seemed perfect for the occasion.  These are Treasure Candles made in waxed paper cups.  The wick is attached to a wick button in the bottom of the cup with its upper end looped around a wooden skewer.  The wax is poured in a bit at a time.  Treasures like small shells, marbles and beads are added before another layer is poured to hold them in place.  The different colors were made by mixing in old crayon bits.  When the wax is dry, the paper is pealed away leaving a votive type candle.  When burned, the secrets inside are slowly revealed.  Oh so magical for the wee ones.

At the Recycled Sweater Table such a great number of interesting things were made.  It's hard to tell in this photo but that grey elephant was one of the softest, most adorable critters I've ever seen.  There were also hats, mittens, felted flowers, purses and, I think, a few of other stuffed critters as well.

Additionally, folks made little Pocket People, Magical Wool Stars and 3-D Paper Snowflakes.  We  gave away sachets of deliciously fragrant Mulling Spices and our amazing Preschool and Parent/Child teacher was on hand helping many of her parents make the sweetest little Sleepy Dollies.  Sadly I didn't get a photo of any of the lovelies those mamas made.  Some things were trickier than others but I think challenges were overcome and everyone took a hand in helping out where needed.


Finally, tucked away against one wall we had a collection of Seasonal Traditions shared by various families.  It's always so interesting to learn how others celebrate all manner of winter celebrations including The Day of St. Nicholas, Martinmas, Santa Lucia, Hanukkah and, of course Advent itself.

It's what our day was really about - our little village coming together to exchange our holiday traditions and gifts of friendship, stories, skills, patience, laughter and beauty in a relaxed and welcoming joy filled room.

A gift of light
I thankfully hold
And pass to my neighbor
Its shining gold
That everyone may
Feel its glow
Receiving and giving
  We watch love grow

Saturday, November 24, 2012

jokes for five year olds - IV

Two biscuits were sitting in the oven.  The first biscuit said to the second, "Wow, it's getting really hot in here."


The second biscuit said, "Holy cow!  A talking biscuit!"

Tuesday, November 20, 2012

finger knitting with children


  A few days ago Naiya came home from school all excited about her new skill.  She learned finger knitting in her Waldorf kindergarten and was able to teach it to me herself in about three minutes.  (I love it when the craft sharing switches direction from daughter to mommy!)  I never knew this was so super easy.  It's much like spool knitting but done on the hand.  Since we've never been able to successfully knit on our little doll spool, (perhaps because we wind the yarn too tightly?) we were glad to find this simple alternative.

  I know many, many of you probably already know how to do this and, quite likely, there are lots of tutorials around on the internet but, what the heck, this project was so delightful for me, I'm just going to share here anyhow.

  I tried to photograph Naiya's demonstration, but it's a bit challenging to get a six year old to stop for a photograph each step along the journey of creation, so these are my dry, calloused hands you're seeing.  (Also, it's hard to take photographs of your own hands when one of them is holding the camera.  I hope it still makes sense.) 


1) Begin by winding the yarn around the thumb of your non-dominant hand a few times.

 
 2) Holding the ball of yarn in your dominant hand, draw the yarn over the index finger, under your middle finger, over your ring finger, under your pinkie...

3) Going back the other direction, the yarn will cross the opposite side of your fingers - over the pinkie, under the ring finger, over the middle finger, under the index...

4) Push this first back and forth round down toward your palm and repeat the same patterns from steps 2 & 3 - over, under, over , under and around the pinkie and back...

5) Push this second layer down toward your palm.

6) Starting with your index finger, tuck your fingertip under the lower loop and straighten the finger to push that loop to the back of that finger.

7) Repeat with each finger across so you're once again left with only one row of loops.  Your first row of knitting is complete.


8) Repeat a single round of winding - front, back, front, back around the pinkie, etc. to make the two rows of loops again.  Repeat the finger tucking and looping over as seen in steps 6 & 7.


Just keep repeating this process of winding to make two rows of loops then pulling the bottom loops up and over to the back until a chain begins to form on the back of your hand.  (You can release the wind around the thumb after the first round.  It was just meant to hold the yarn in place.)

Make the chain as long as desired.


Should you be working with children who tire of the activity before it is complete, Naiya suggested removing it from the hand by running a popsicle stick through the four loops to keep the project from unraveling.  Carefully place back on the hand when the child wishes to continue.

To finish off the end, cut the yarn with a few inches to spare and run the cut end down through the top of each of the four loops. 


After it has gone through the last (pinkie) loop, gently  slide it from the hand...

...and pull the end tight.


Voilà!  Finger knitted rope.


  Now, what do we do with all of these strands of beautiful handwork?


Thursday, November 15, 2012

maple leaf crowns


Autumn has brought with it the amazing hues of this season and, here in Portland, the maple trees offer up the most extraordinary palette of technicolor leaves.  Every day when I pick Naiya up from school, the teachers seem to have made some child or other one of these beautiful crowns.  Hers came a few days ago just when I had collected leaves to put together a little how-to to share with all of you.  Aren't they gorgeous?  They're a little bit like the daisy chains of Summer in that they require no special tools or materials other than that of which they are made.


Simply break off the stems from the fallen leaves and overlap a third of one with about a third of another.

Carefully thread the stem through to sort of staple the two leaves together.


Lay an additional leaf and thread another stem...

Then another...


...until the band fits your child's head. 

Connect the final leaf to the first (with the stems either hidden inside or displayed out) and let your Autumn Princess or Prince enjoy her/his seasonal coronet.

Thursday, November 8, 2012

apple stamped capes for martinmas

A few years ago, when Naiya was still in preschool, the children and their teachers at her Waldorf school made these sweet capes for our Martinmas Lantern Walk.  We still have ours and take it out every year when we take our walk through the neighborhood on November 11th.  They're of such a simple design and young ones love the apple painting portion of this creation so I thought I'd share them as a Martinmas family craft.

They're made out of a single piece of wool felt and some felted yarn for the braided tie.  For our four year old the fabric measured 32" x 36" and this size still works for her at six.  Our finger knitted draw string measures about 36" as well.


Begin by laying out the flat fabric.  Using apples cut in half on their "equator" (which, in all apples, reveals a magical star), dip the open side in red paint and stamp the fabric at random intervals.


After allowing the paint to dry, fold the fabric in half with the stamps on the inside and sew across one of the short ends with a broad running stitch.  This creates the hood of the cape.


Measure about 12" down from the seam just created and cut three holes in a line in from the outside edge.  The first is only 1/2 an inch from the edge and the other two are about 3/4 inches apart.  Repeat on the other side.  These are holes for the drawstring.


Fold the fabric to align all three holes.  Using a thick braided or finger knitted yarn (about 36" long), run the drawstring from one side to the other.


Maintain the fold up to the top where the seam was sewn and place a few stitches at the peak to create a folded edge around the entire hood.


With needle and thread, stitch the drawstring at the center back.  Since we used wool felt, there was no reason to hem any edges.

It's made a warm and festive wrap for our evening Lantern Walk three years running.


Father Sun, Father Sun, will you lend me pray
A little flaming lantern to light me on my way?
The fairie folk have vanished from the meadow and the glen
And we would fain go seeking till we find them once again
Oh, lend me now a lantern that I may bear a light
To find the hidden pathway in the darkness of the night
Related Posts Plugin for WordPress, Blogger...